Zoho Mail
How to Setup an Auto-Reply in Zoho Mail
STEP 01
Access your settings in your Zoho Mail account
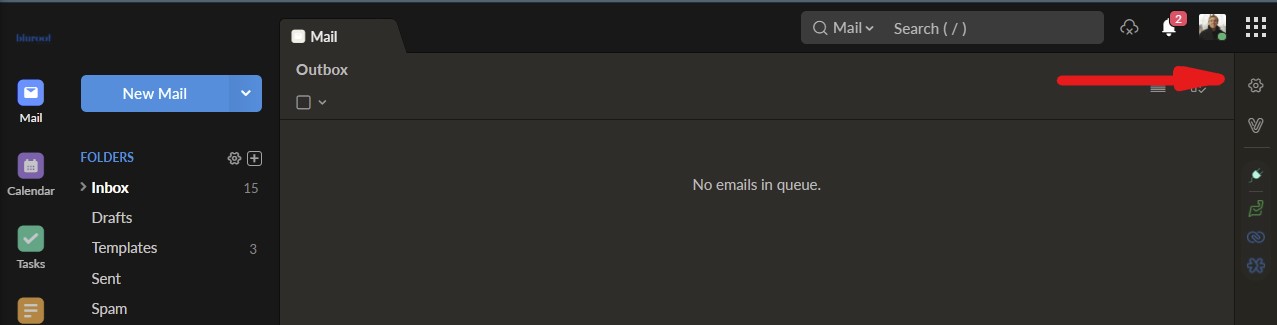
Once your logged into your Zoho Mail account, you’ll need to access the settings area. In most Zoho Mail accounts, the settings can be found in the top right corner, just under your profile picture.
STEP 02
Access the Out of Office Settings in Zoho Mail
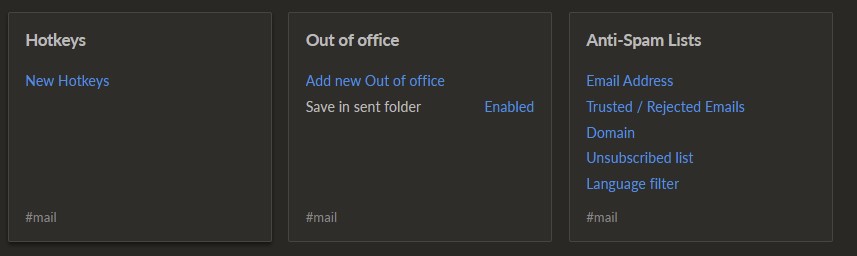
Once in the Settings area, scroll for the Out-of-Office section. It should be just after Hotkeys and before Anti-Spam Lists. If this doesn’t work, you can always try to search by hitting Ctrl + F.
Once found, click on “Add new Out of Office”.
STEP 03
Setup Your Out-of-Office Hours and Message
Once this link is clicked it will take you to the Out of Office section of Zoho Mail settings.
If you’ve used an Out-of-Office before, there should already be an entry in the Settings area. If not, you can click the “Out of office is not configured. Add new Out of office”.
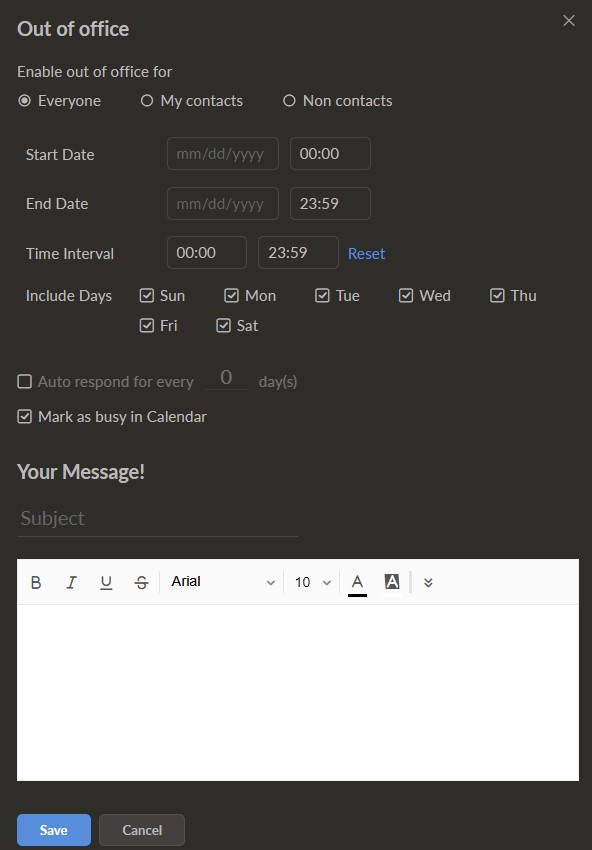
Once selected, a series of options appear to configure your out-of-office. To quickly run them down:
- Enable out of office for: Select which senders will receive the message
- Start Date: when out-of-office begins. Make sure this is in the future!
- End Date: when out-of-office ends
- Time Interval: during what hours of the day will the message be sent
- Include Days: on which days of the week will the message be sent
- Auto Respond…: Send the message to the same contact every X days.
- Subject: subject of the email message
- Text Box: contents of the message
Get Your Questions Answered
Still have questions? The BEST way to get them answered is to meet with a Zoho Expert. Join our free office hours, get your questions answered, and see us in action with other Zoho businesses- like you!