Zoho Mail
How to Insert Signature in Zoho Mail
STEP 01
Getting Started in Your Zoho Mail Settings
You will need to login to Zoho Mail.
You can either log in directly at mail.zoho.com or use your browser to go to zoho.com and click the “Mail” icon found on the left side of the screen. Either way, you’ll need to enter your username (which is your email address) and password before you can begin working with Zoho Mail.
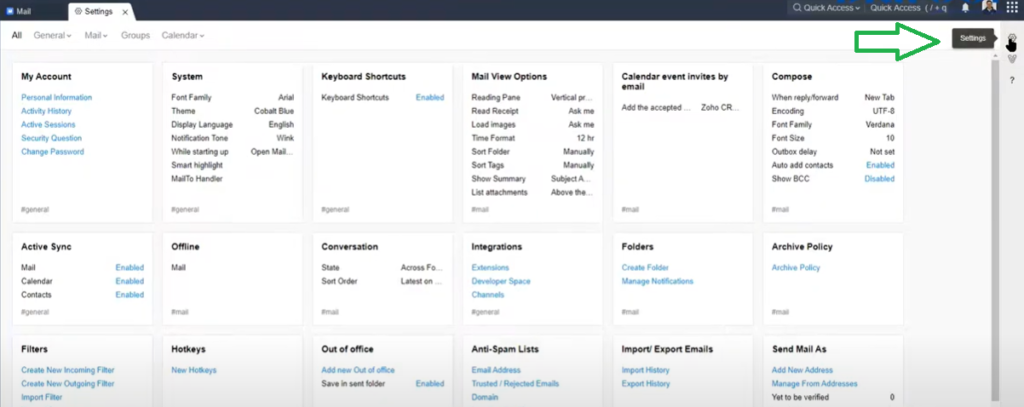
Once you are in your Zoho Mail account, and click on Settings button in the top right corner (below your picture).
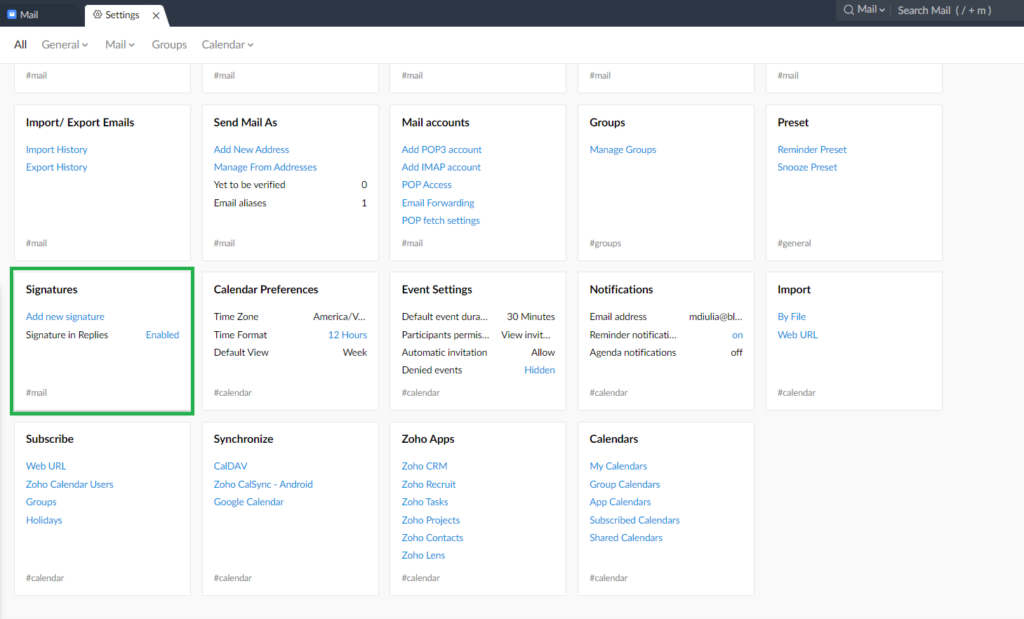
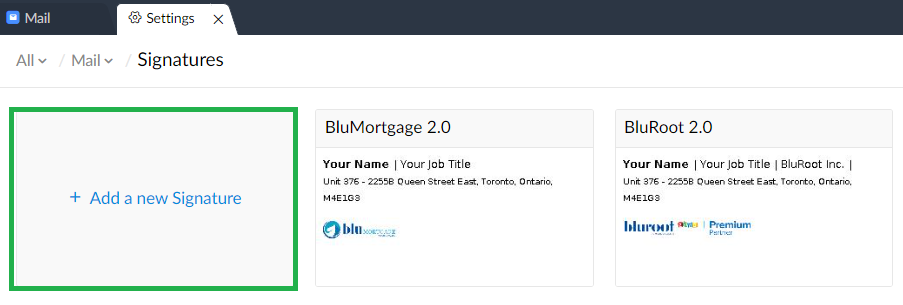
On this page, scroll down and click the Add New Signature from the Signatures tab.
STEP 02
Adding Your Signature
Click on the Add Signature button on the top right side of this page.
In the Signature Settings window, enter a name for your new signature in Signature Name text box (We are taking Personal as our example). Choose whether you want this signature to be inserted at the end of your mails by checking the box.
Then, type in your signature content, in the text box provided below. You can also choose to add a company logo, images and links along with your signature by clicking on any of the icons shown below.
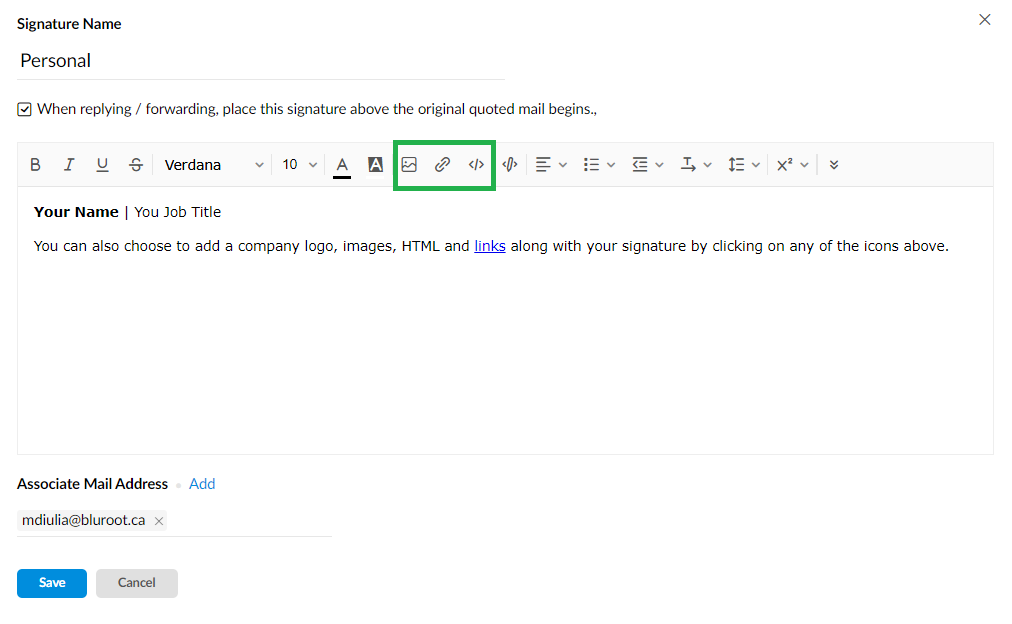
Click on Save.
Get Your Questions Answered
Still have questions? The BEST way to get them answered is to meet with a Zoho Expert. Join our free office hours, get your questions answered, and see us in action with other Zoho businesses- like you!